Like many of you, I became obsessed with submerged flowers and the containers I would see them in.

But, I couldn't justify going out and dropping tons of dough on something like that for one day (I mean what am I going to do with 100+ of these after the wedding). And, I didn't want to rack on more charges to our catering bill.
I saw some other posts on here of projects where brides would take empty wine bottles, score them, heat them, then cool them, until finally, you would have a semit straight line if the bottle didn't crack.
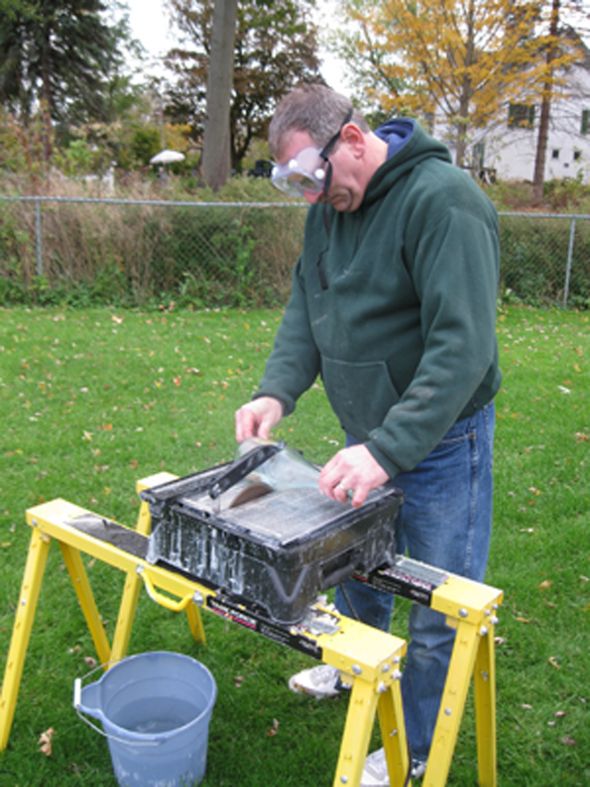
Yeah, that didn't appeal to me. Instead, my dad has a wet saw laying around the barn that we have used for home renovation projects. Basically it is for ceramics, glass, and tile and water shoots out over the blade to keep the blade cool and stop it from cracking the glass.
Collecting wine and liquor problems was not a problem what so ever; especially with a future brother-in-law who was in a frat. So we went outside and loaded up the saw. Here is a picture of my dad trying out the first bottle.
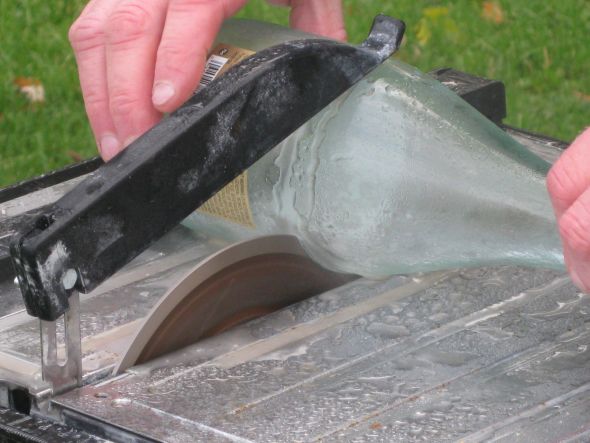
And here is a close up of the action.
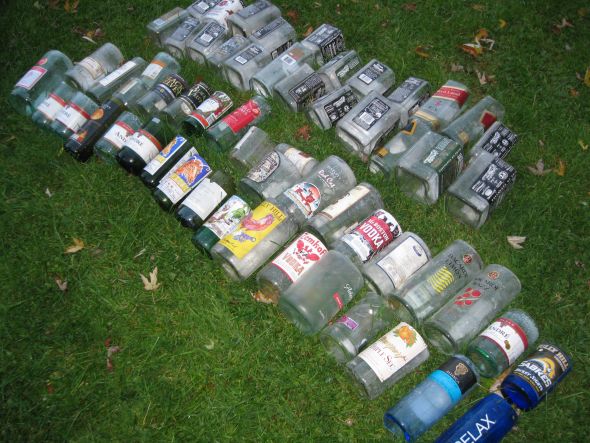
A little less than two hours later we had over 60 bottles cut. We had to recycle around 15 because they either had etched names in the glass or painted on labels. Here was the finished product with the labels still on.
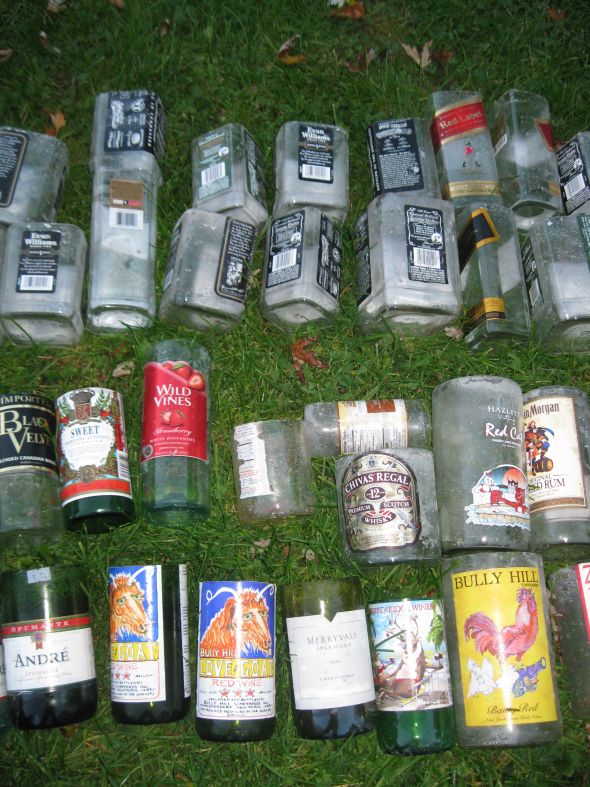
The FI just likes JD a little...and I'm quite partial to Bully Hill (Finger Lakes represent)!
All that is left to do (besides cutting up more in the spring), is to take the labels off and smooth out the tops. We will do this by turning upside down a rotating sander on the two saw horses and placing the top of the bottles straight down on top of it.
No comments:
Post a Comment